
Embroidery Sew-Out Approval Checklist for Production
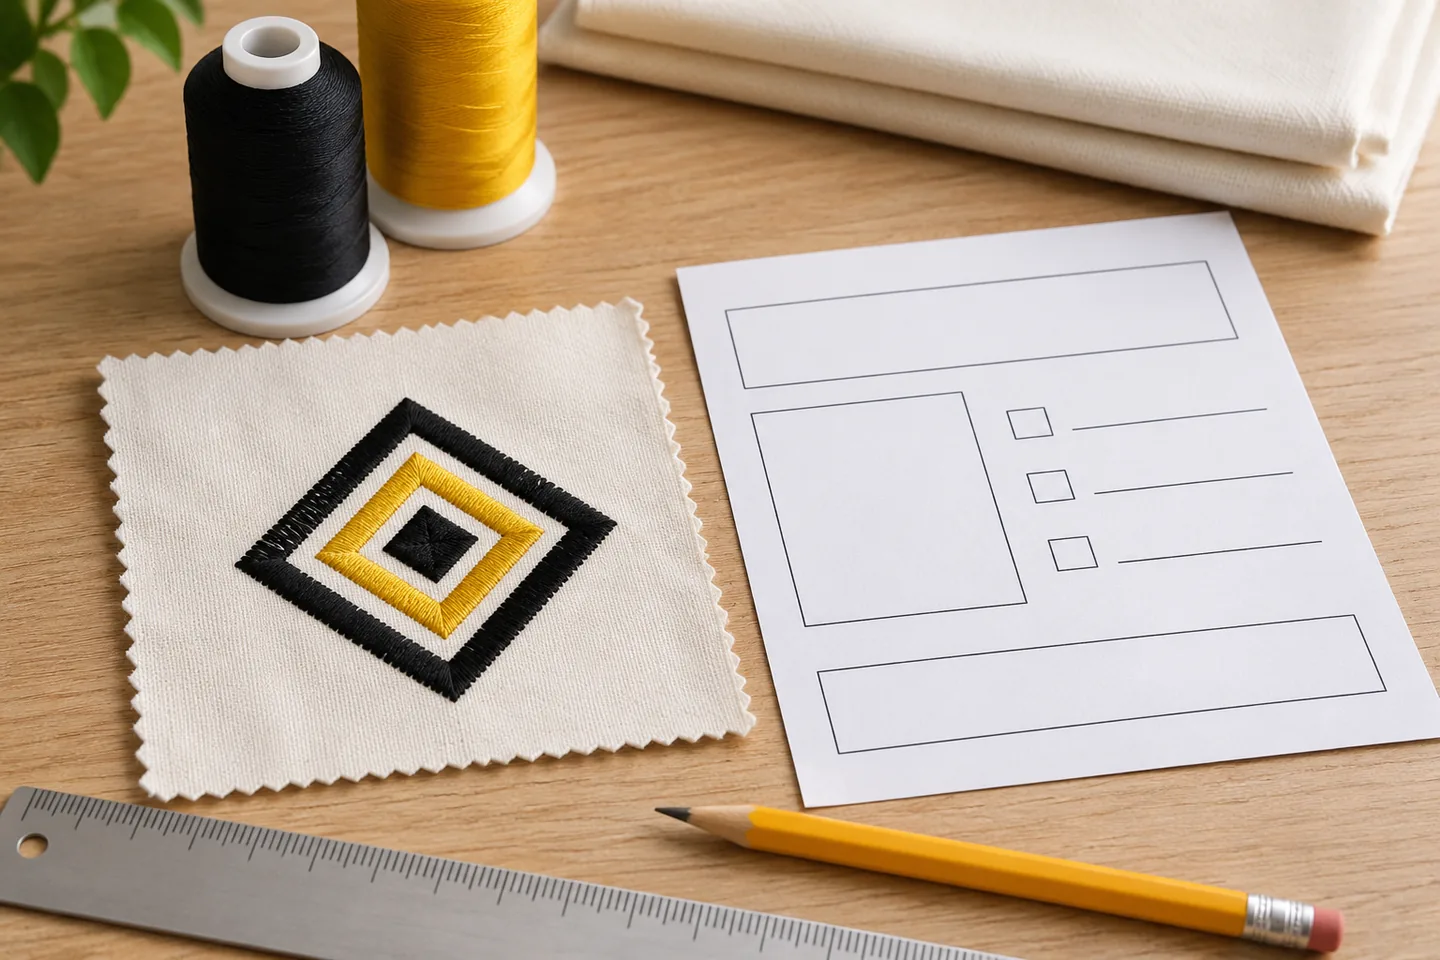
A digital embroidery preview helps explain a design, but a production decision also has to account for the actual garment, backing, thread, machine setup, and stitch file. Before a shop runs a batch, someone should compare a physical sew-out with the approved job and record a clear approve or hold decision. This article gives a reusable review record for that moment. It is a shop workflow template, not a claim that DigitizingU physically tests or approves every order.
The goal is to make it possible to answer three questions later: Which file was tested? What did the sample look like on the intended material? Who released that exact combination for production? The embroidery digitizing service prepares stitch files; the decorator controls its own machine, sample, and production release.
Separate the Approval Sheet From the Physical Sample
An artwork approval, a design preview, and a stitched sample answer different questions. An approval sheet can document the design appearance, size, and colorway a customer accepted. A production worksheet can carry operator details such as size, color sequence, and instructions. Wilcom describes these as separate report types. Neither document alone proves how the stitches will behave on a particular blank.
The physical sample answers the material question. It should be made on the intended garment or a representative piece with the same relevant construction. A sample on stable woven fabric cannot settle whether the same design will sit cleanly on a stretchy knit or a lofty towel. Keep the approved artwork, operator information, and sample together so the reviewer knows what is being compared.
This checklist begins after the artwork and intended placement have been agreed. If the sample reveals a defect, identify and document it before release. The common digitizing mistakes guide can help frame the investigation, but this page owns the final approval decision rather than a universal diagnosis.
Collect the Exact Job Before Reviewing
Use the same identifying details on the sample label, file record, and approval note. An operator should be able to reproduce the trial without guessing which revision or colorway was used.
- Design identity: customer or internal job ID, artwork reference, finished dimensions, placement, and any approved simplifications.
- File identity: stitch-file name, revision or export date, machine format, and where the approved version is stored.
- Material identity: garment or blank model, fabric or pile type, color, and the planned backing or topping. Note substitutions rather than assuming similar blanks behave alike.
- Run context: machine model, hoop or frame, thread color reference and sequence, and the operator's setup notes. Follow the equipment and supply manufacturers' instructions for the actual job.
- Approval owner: identify who can accept appearance and who can authorize the production run. Those may be different people in a shop.
For stitch files such as DST, keep an independent thread reference and check the stop order against the job. A file extension alone does not carry the whole production instruction. The DST versus PES guide explains why color and compatibility checks differ by file and machine.
Inspect the Sample at the Intended Size
Look at the stitched sample in normal viewing conditions, then inspect details more closely. Compare it with the approved artwork and job specification rather than with an imagined “perfect” result. The important question is whether the sample meets this customer's agreed requirements on this material.
- 1Artwork and placement: confirm the correct design, orientation, location, finished size, and spelling. Check whether a seam, pocket, or garment edge changes the intended appearance.
- 2Color and sequence: compare the thread reference with the sample. A screen preview can differ from thread on fabric, so use the approved physical or brand reference when color is critical.
- 3Legibility and coverage: read the smallest lettering at its real size. Check visible fabric gaps, stitches buried in a pile, and whether fine features survived the sew-out.
- 4Shape and registration: inspect outlines, borders, and adjacent fills for a visible shift. Note the location and direction of any mismatch rather than assuming its cause.
- 5Fabric condition: look for puckering, excessive stiffness, marks from hooping, or unwanted show-through. Turn the sample over to check backing, loose ends, and anything the wearer or customer will notice.
If the sample fails, separate the observation from the proposed fix. A shifted outline could involve file sequencing, hooping, fabric movement, tension, or several factors. Record the machine and material context before asking for a revised file. Do not release a batch just because the digital preview looked correct.
Copyable Approve-or-Hold Record
The following is a blank shop template. Enter the actual values from the job; the underscores are placeholders, not sample results.
| Field | Record for this job |
|---|---|
| Job and approved artwork ID | __________ |
| Stitch file name, format, revision | __________ |
| Sample garment or representative material | __________ |
| Placement and intended finished size | __________ |
| Backing, topping, hoop or frame | __________ |
| Thread reference and colorway or stop sheet | __________ |
| Sample date and machine or setup reference | __________ |
| Appearance observations and sample-photo ID | __________ |
| Decision: approve or hold | __________ |
| Reviewer, date, and next action if held | __________ |
Keep a photo of the full sample and close-ups of any problem beside the record. A ruler or other scale reference can help when size or placement is disputed. If a later revision is tested, make a new record linked to the new file. An approval of one export should not silently cover a renamed or edited file.
Release the Tested Version, or Hold It
Approve when the designated reviewer accepts the physical sample against the agreed artwork and job criteria, and the operator can identify the same file, material, and setup for production. Store the approval record and the file version together. If blanks or machine conditions change materially, decide whether another representative sample is needed before continuing.
Hold when a required detail is wrong, a material or color substitution is unresolved, or the sample does not meet the agreed appearance. Record exactly what failed, who will investigate, and what must be tested again. A hold is more useful than a vague “needs improvement” note because it gives the next reviewer a testable question.
This process is separate from a digitizer's file correction: it is the shop's go/no-go release decision. If a revised stitch file is needed, send the actual sample observation, file revision, blank, and setup details with the request. A clear record reduces the chance that the wrong file is loaded for a repeat order.
Frequently Asked Questions
Is a digital embroidery preview enough to approve a batch?
It can help approve artwork and explain the planned appearance. It does not show every response of the production fabric, backing, thread, hooping, and machine. Decide whether a physical sample is needed based on the job's risk and the customer's requirements; do not treat a preview as a physical sew-out.
Must the sample be stitched on the exact garment?
Use the actual blank when possible. If a representative piece is used, record how it matches the planned fabric and construction, and what remains untested. A different pile, stretch, seam, or backing can change the result.
Who should sign off?
The shop and its customer should agree who approves appearance and who authorizes production. The template records that decision without prescribing a contract or claiming DigitizingU acts as the approver.
What should be sent when the sample is held?
Send the file name and revision, a full sample photo and close-up of the issue, the garment and stabilizer details, and the machine/setup context. State the expected appearance and observed difference. This makes a correction request more useful than “the design looks wrong.”
Prepare the Next Production File
If your shop needs a new or adjusted embroidery file, share the approved artwork, intended size and placement, material, machine format, and any representative sample observations when you request a digitizing quote. The sample and release decision remain with the shop. For artwork that is not yet suitable for stitch planning, the logo preparation guide lists useful source details.
Technical background: Wilcom's approval-sheet and production-worksheet guidance explains the distinct information those documents carry. Use the documentation for your actual machine and materials when testing a physical sample.
Need a File for Your Embroidery Machine?
Share your artwork, garment, finished size, and machine format so the team can review your digitizing request.